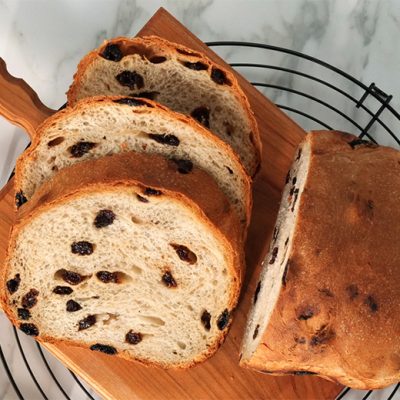
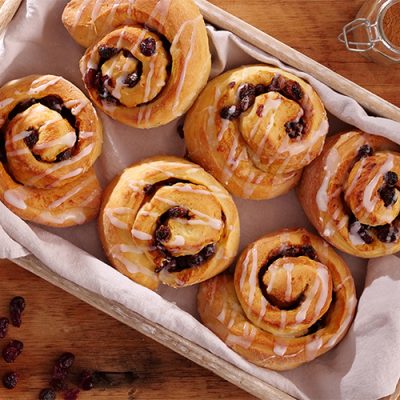
When baking gluten-free bread at home, there are a few things that should be considered in order to have great results in the end. Therefore, I now list my tips for you, that I can recommend for gluten-free bread baking with the help of a breadmaker.
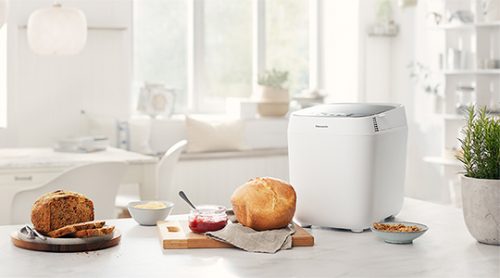
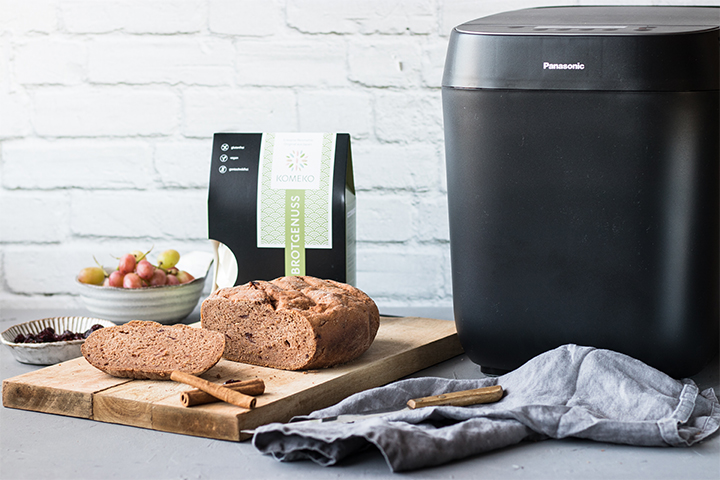
Why a Breadmaker?
The advantages of a Breadmaker are obvious: It makes work in the kitchen easier!
It takes care of kneading, rising and baking. You add all the ingredients into the breadmaker, choose the right programme (in our case it is Croustina’s “gluten-free bread” programme) and let the machine do the rest. The rising and baking time is usually much shorter in a breadmaker compared to an oven. In addition, you do not need any additional bowls and you do not have to get your hands or the kitchen dirty.
With Croustina, the bread gets even a wonderful crispy crust. That’s possible, thanks to a new and innovative baking structure which help to generate heat like in the oven. The lid has a mirror-coating which reflects the heat and thereby ensures a perfect crust.

The right recipe
It is generally not advisable to convert old recipes containing gluten 1:1 into a gluten-free version. This rarely works properly. Certain binders would be missing, which I will explain to you below. In addition, gluten-free flours usually need a different mixture ratio to the liquid ingredients because they have a different swelling and binding capacity to wheat flour.
The most important binders
The key to gluten-free baking are the binders that are supposed to replace the missing gluten. As we lack the adhesive protein when baking, the doughs lose their binding capacity. It is therefore advisable to use xanthan, psyllium husk and or chia seeds. In particular, xanthan and psyllium husks ensure a good binding of the dough, keep the baked goods fresh longer and have an influence on the pleasant texture of the finished bread. Therefore I recommend using these binders for gluten-free bread baking in the Breadmaker.
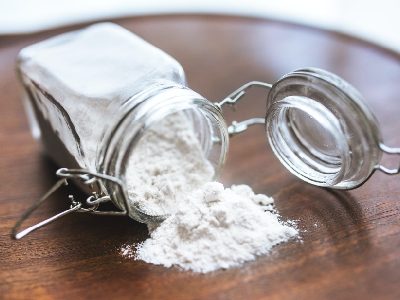
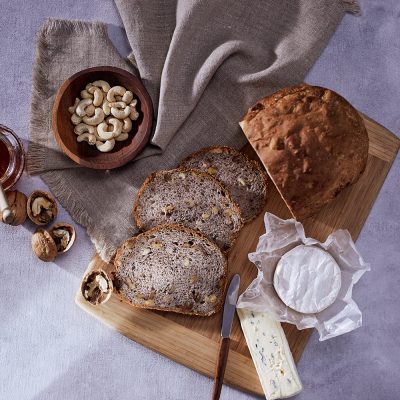
The right flours
The selection of the right gluten-free flour also influences the finished bread. As already mentioned above, it is generally not advisable to convert old recipes containing gluten 1:1 into a gluten-free version. However, thanks to Komeko’s gluten-free rice flour, there are exceptions! Because the Komeko flour is a certain and special form of rice flour, which allows us to convert old recipes into gluten-free recipes. The Komeko flours have a particular stickiness and therefore come very close to the gluten-protein property of gluten without containing gluten.
If I don’t use gluten-free Komeko rice flour, I like to mix a gluten-free flour mixture myself from several individual flours. Depending on the baked goods, it is advisable to add a small amount of corn starch. As a rule of thumb, you can remember that you should generally integrate no more than 1/3 of the total amount of starch flour. Especially with gluten-free cake recipes, which you can also bake with programme 15 in the Panasonic Croustina Breadmaker, it is advisable to integrate a small amount of cornstarch.
Some gluten-free flours have better or worse binding properties. Flours that are generally well suited for gluten-free bread baking are, for example, rice flour, teff flour and buckwheat flour.
Test the yeast
I always recommend testing the yeast when baking gluten-free bread by preparing a pre-dough. For this, the dry yeast is simply mixed with a little sugar and a bit of lukewarm water and set aside for 10 minutes. This way, the yeast has time to activate itself. Now and again, the yeast does not activate or simply does not rise well enough. It would be a shame to waste all of the ingredients. With the pre-dough, you can see whether the yeast is working, and, if it has activated, add it to the other ingredients. You can tell whether the yeast activates if in the best scenario, small bubbles are formed in the yeast mixture.
A good dough scraper
I like to work with rubber dough scrapers so that the coating of the bread pan of the breadmaker is not scratched or damaged. Gluten-free yeast doughs tend to be rather sticky and are also heavier, that is why there is the possibility that the dough will stick to the bowl of the breadmaker. So that you can still conjure up a nice and even loaf of bread from your breadmaker, it is advisable to use a dough scraper to stir the dough in the bowl again and push it down from the edge. If you then moisten the dough scraper a little, nothing will stick to it and it will make it easier for you to “shape” your loaf of bread.
Storage after baking
Basically, a freshly baked bread from the breadmaker tastes best when it’s still lukewarm. Of course, it is unlikely that you would eat a whole loaf of bread at once. In order to enjoy the best result “as fresh from the oven” as long as possible, I recommend slicing the remaining bread and freezing them. This way, the bread can be toasted again briefly before consumption and you can enjoy the finished bread for as long as possible!

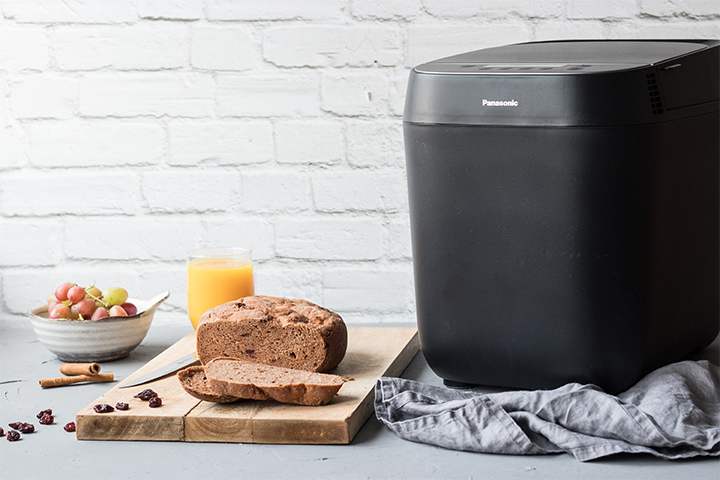
A breadmaker actually makes baking gluten-free a lot easier. The handling of such heavy and sometimes sticky gluten-free yeast dough is not that easy. It is really a relief when kneading is done by the breadmaker. No baking pan needs to be greased (thanks to the ceramic coating of Croustina, the doughs can be easily removed from the bread pan). The oven does not need to be preheated. The dough does not need to be kneaded separately. The ovenproof bowl of water (which should usually be added when baking in the oven so that the bread gets a great crust) is also not necessary. The breadmaker Croustina can bake a bread with a wonderfully crisp and aromatic crust without this water bowl! Overall, it also takes a lot less time to bake a gluten-free bread. As both the rising and baking times are reduced in the breadmaker.
With a little practice and the great help from the Croustina Breadmaker, it is not rocket science to bake delicious gluten-free bread or even pizza and pasta! This way, you can always enjoy delicious gluten-free bread within a very short time and without great effort.

Have fun baking!
Fabienne from freiknuspern