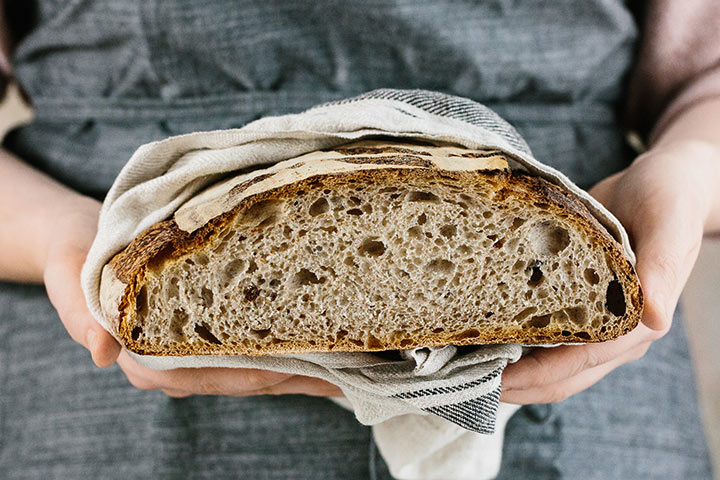
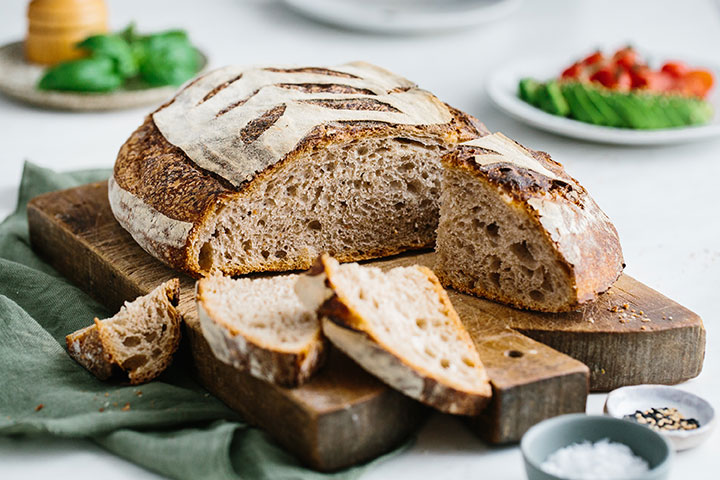
Here is my simple guide to make a sourdough starter from scratch in only 7 days, perfect for beginners.
First of all, it should be said that you will not find any scientific explanations here, but I’ve tried to write down step-by-step instructions as easily as possible for everyone who is still a little shy about the topic. It was no different for me. And in the end I made things as easy as possible for myself. Therefore, I will not throw around scientific details here, but write down a method that is as simple as possible, how you can get your sourdough in 7 days, so that you can then start baking your sourdough bread. 🙂
Here a few key points and tips to consider before you make your sourdough starter:
1. Work with clean utensils! You will need a spoon and two jars with lids. Preserving jars for example or well-rinsed screw-top jars are also sufficient! They should have a capacity of at least 300 ml.
2. Regularity: your sourdough doesn’t need much attention, but it does need regularity. Consider it as your new house mate, give it a name and feed it. To start with, find a time in the evening (or morning) to take care of it. As said, your sourdough doesn’t take much time, it doesn’t take more than 5 minutes per day.
3. Flour: the more biodynamic the flour and the type, the more active your sourdough will be. Especially at the beginning you should for example use wholemeal rye flour or wholemeal wheat flour. Depending on what type of sourdough you want to grow. In my example we are growing a rye sourdough.
Let us start:
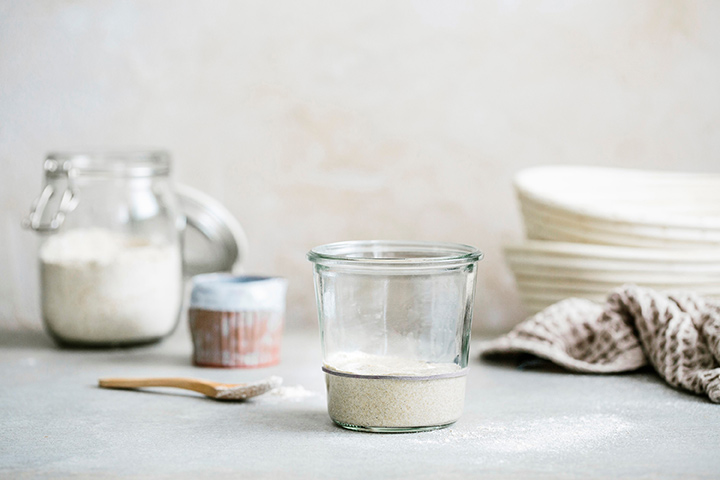
Day 1: Pour 40 g lukewarm water and 40 g wholemeal rye flour into a clean preserving jar or screw jar, stir well and then wipe the side walls with a piece of cloth or spatula, this way, you can watch your sourdough. Place a rubber band around the glass so that you can assess its activity. Do not close the (screw) lid properly, just place it on top. By the way, temperatures between 25 ° – 30 ° are best for the growth. Normal room temperature will also work, but the dough will take a little longer to show its activity. But we have time.
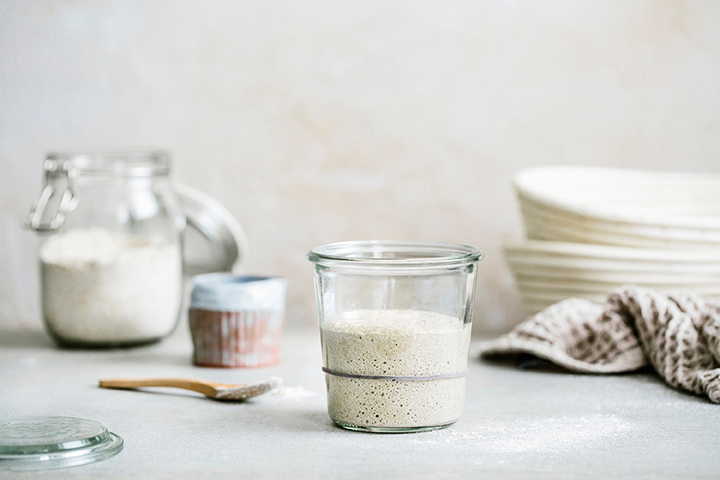
Day 2: Has your dough grown and are (small) bubbles showing? Great, then you can carry on: fill in 40 g lukewarm water, stir, and then add 40 g wholemeal rye flour again. Stir well again, wipe the side walls, place the lid loosely on top, adjust the rubber band, let it rest for 24 hours.
If your dough is still not moving: don’t worry, sometimes it takes a little longer. Feed it anyway as described above.
Day 3: Transfer 50 g of the sourdough into a fresh (screw) jar (the rest can be disposed). Then add 40 g of lukewarm water again, stir well, and then mix the 40 g wholemeal rye flour and stir well again. Wipe the side walls, adjust the rubber band, place the lid loosely on top.
Day 4: The same procedure as day 3. From today, there will be a second feed after about 12 hours. Therefore, depending on whether you started at 9 a.m., for example, feed a second time on the same day at around 9 p.m. (following the same procedure as on day 3) or if you started at 9 p.m. in the evening, then again next day at 9 a.m.
Day 5: the same procedure as day 4. Watch your sourdough! How does it grow, how does it smell (slightly sour – it should smell fruity). What is its consistency? Depending on the type of flour, you may have to use a little more water or a little more flour when feeding. The sourdough shouldn’t be too tough and should be easy to stir. If necessary, you may also have to adjust your feeding times. It is best to feed the sourdough when it starts to collapse again. But don’t worry, you don’t have to watch it round the clock. You will get a feeling for the consistency and your own sourdough relatively quickly. 🙂
Day 6: The same procedure. In the best case, your sourdough is already nicely active and even doubles or triples within about 8 hours. If not, that’s not a problem either. As mentioned earlier, it’s simply good to watch your sourdough. Depending on the type of flour and/or the ambient temperature, your sourdough will grow faster or slower.
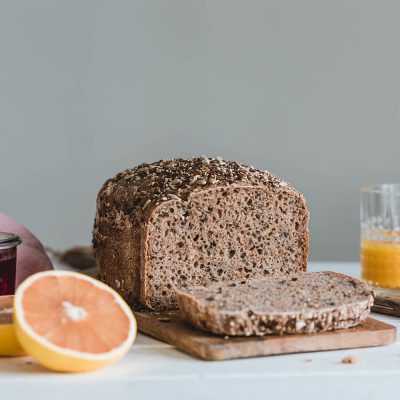
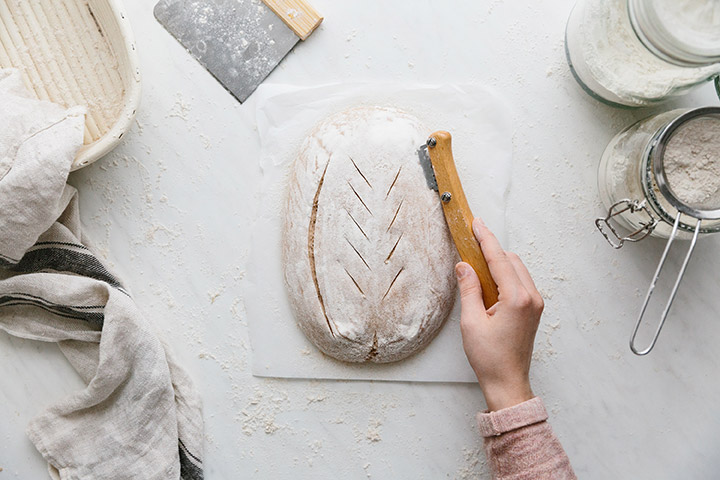
Day 7: If your sourdough doubles or even triples its volume in about 4 hours in the meantime, you can start your first attempt at making a sourdough bread from today. If it hasn’t grown that much, you can still bake some bread and add a little (dry) yeast to help you get started.
To create the storage leaven for your sourdough bread, you can simply feed a larger amount. Depending on how much sourdough starter the recipe requires. In my case I need 80 g. That’s why I pour 60g of sourdough into a clean glass, add 50 g of lukewarm water, stir well, and then add 50 g of wholemeal rye flour. Place the lid loosely on top.
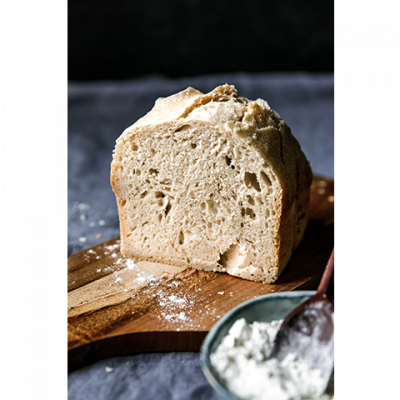
When the sourdough has grown at least twice as high, I weigh 80 g of storage leaven for the bread recipe. I feed the remaining sourdough again as on day 2. Then you can decide whether you want to keep your sourdough outside (but will only make sense if you want to bake bread several times a week) or you put it into the fridge. The sourdough also ferments there, but of course much more slowly. Then you only have to feed it about once a week.
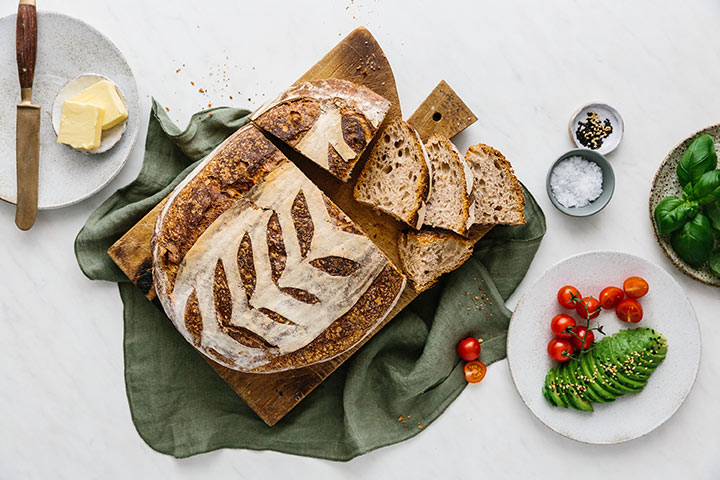
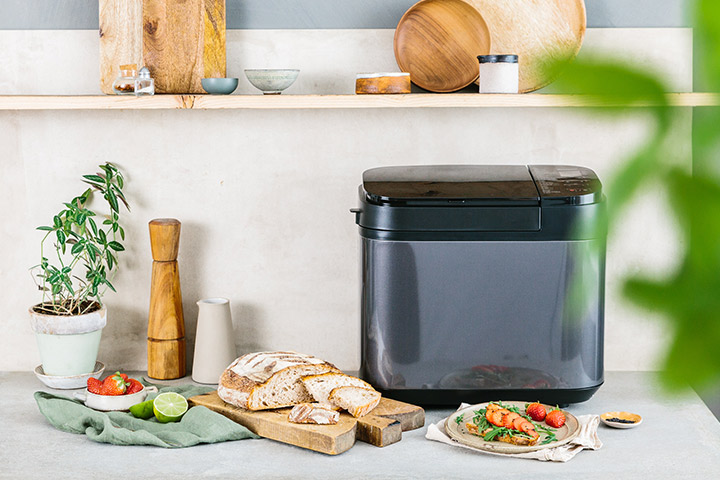
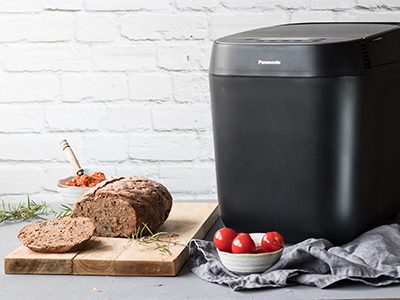
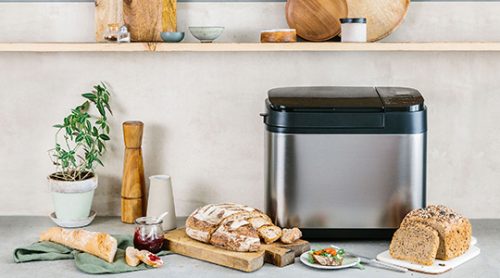
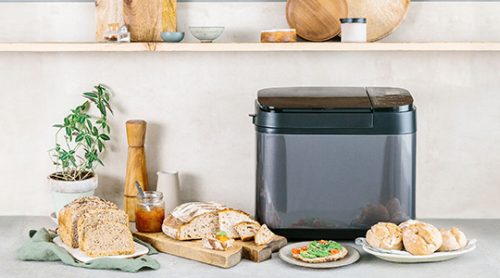
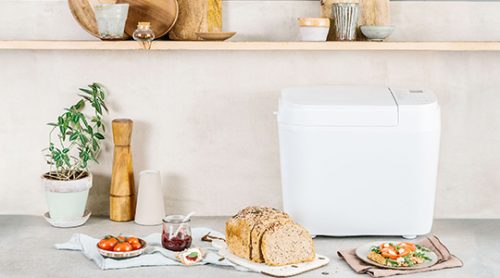
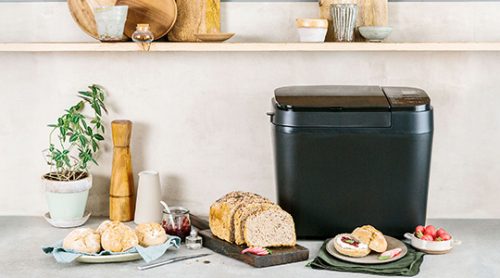
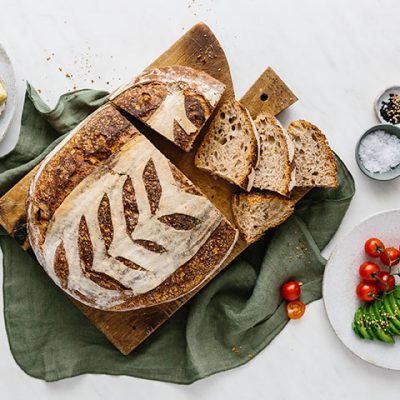
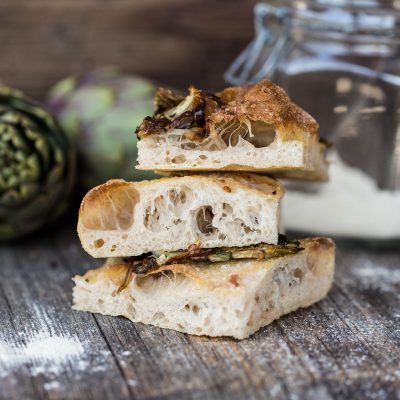
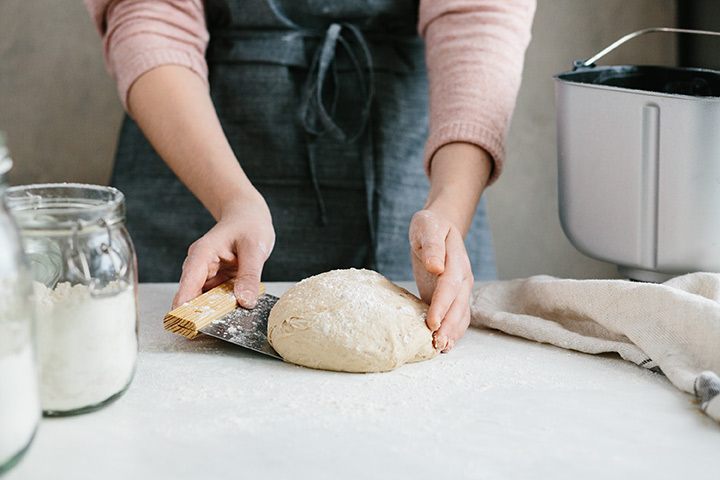
You will now use the weighed active sourdough starter for the bread recipe. And for this I have received help this time. Of course, you can also knead and make bread entirely by hand – but sourdough bread in particular needs some timing. Because it needs to be folded at regular intervals. And you don’t always have time for this. I was all the more surprised that I could simply save myself most of these small steps with the Panasonic breadmaker – and in the end, my best bread ever resulted. The breadmaker has programmes for kneading the dough and one specifically for sourdough. Therefore, you can put all the ingredients into the breadmaker and all the kneading and folding is done by it automatically. You can find the full recipe for the simple rye sourdough bread here.